When counter space is limited, even a few spice jars can take up the spot where you set a cutting board. Moving every bottle into a cupboard can free the counter, but it may also leave you reaching past backups for the same three seasonings every night.
Start by giving your everyday seasonings one easy-to-reach spot. Keep refills and occasional-use spices elsewhere, and follow the storage instructions on each package. Once you know how much room your everyday group needs, you can decide whether a drawer, a small tray, or a magnetic rack makes sense.
Start with what you used this week
Set out the spices and seasonings you reached for during a normal week of cooking. Separate them from unopened refills, duplicates, and ingredients you use only for particular recipes.
You might reach for salt and pepper while chopping, but use soy sauce only when mixing a dressing. Store each group near the step where you need it, provided the location meets the package’s storage instructions. An opened sauce that calls for refrigeration belongs in the fridge, even if the rest of your seasonings stay in a drawer.
Start with the original containers. Matching jars can look tidy, but you can test the layout without transferring anything. Keeping the original packaging also keeps the ingredient list, storage instructions, and date visible.
Compare three places to store seasonings
| Location | Works well when | Check first |
|---|---|---|
| Drawer | You want a clear worktop | Usable height and label visibility |
| Countertop tray | You reach for the same few jars daily | Prep space and distance from heat and splashes |
| Magnetic rack | You have a suitable fridge side within reach | Mounting surface, loaded weight, and clearance |
1. Use a drawer if the labels are easy to see
Stand jars upright if the drawer has enough usable height. With a shallow drawer, small dry spice jars can lie flat in a tray if their lids seal securely and the containers are suitable for that position. Keep liquid bottles upright.
Read the labels from the angle you normally stand at when opening the drawer. If every upright jar looks the same from above, try removable labels on the lids. An existing shallow tray can stop the jars from sliding into the utensils beside them.
When to skip: Skip this layout if the tallest lid catches on the cabinet frame or if you must move several jars to find the one you need. Check clearance at the opening, not just inside the drawer.
2. Keep a small tray on the worktop
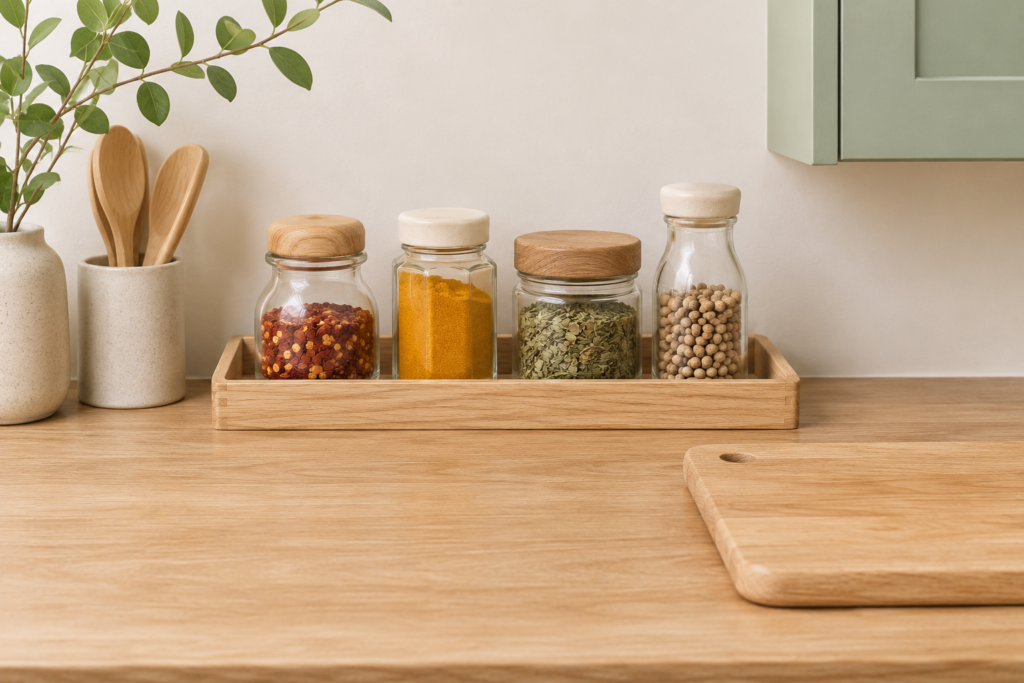
Try grouping your most-used jars on a tray you already own. Put the tray where you can reach it while preparing food, away from direct heat and splashes. Leave enough room to set down your cutting board and a mixing bowl together.
A tray is also easy to lift when you wipe the counter. If it starts to fill with refills or rarely used spices, move those items back to the cupboard.
When to skip: If you have to move the tray every time you prep dinner, the location is costing you more space than it saves. Try a drawer or a shelf instead.
3. Use a magnetic rack where the fridge side is accessible
A magnetic rack can free up counter space if the fridge has a suitable mounting surface and the rack stays out of the walkway. Check the rack’s instructions and your appliance requirements. A magnet sticking to the panel is a useful first check, but it does not establish the rack’s load capacity on that surface.
Measure the rack’s projection from the fridge, the bottle bases, and the space above the jars needed to lift them out. Then weigh the filled containers together, including their lids. A few glass bottles can weigh more than their size suggests.
When to skip: Use a drawer or shelf if the rack narrows a passage, interferes with a door, or would sit against a surface the manufacturer does not approve. Keep any required appliance clearance open.
Product example: Tosca Magnetic Storage Caddy
Yamazaki’s Tosca Magnetic Storage Caddy is an example of a magnetic rack with a wooden front rail.
| Specification | Manufacturer information |
|---|---|
| Model | 4621 |
| Outside dimensions | 10.83 in wide × 5.12 in deep × 3.35 in high |
| Listed load capacity | 3.3 lb |
| Main materials | Steel and wood |
| Origin | Designed in Japan; made in China |
The U.S. product page lists about 4 inches between the wooden rail and the mounting surface. Use that as a starting point, then check the shape of your widest bottle and whether you can lift it out easily. The outside depth is larger than the usable space for a bottle.
Try the layout before buying a rack
Use a tray or a rectangle of paper to mark the space you plan to give your seasonings. Put your everyday group on it for a few meals, on a stable work surface. Notice which jars you actually reach for, whether you can read the labels, and whether the group gets in the way of prep.
If the tray works, keep it. If you need that counter space back, use the same group of jars to measure a drawer or magnetic rack. For other ways to organize a rental kitchen, see Japanese kitchen storage ideas that don’t require drilling.
Research note: Product specifications checked on Yamazaki’s U.S. website on November 4, 2026. This guide is based on manufacturer information and layout considerations, not hands-on product testing.
Small spaces. Thoughtful solutions. Inspired by Japan.